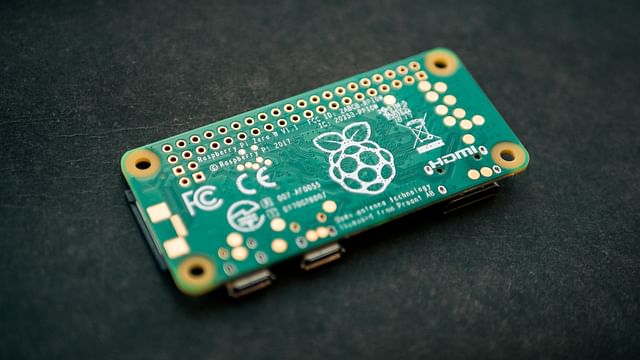
Raspberry Pi Touch Screen Home Automation: A Complete Guide
Have you ever wanted to explore the world of home automation? Are you intrigued by how you can use technology to simplify everyday tasks? If so, you're in the right place! In this guide, we'll explore how a Raspberry Pi touch screen can be used to automate your home.
What is a Raspberry Pi?
Before we dive in, let's get some basics out of the way. Raspberry Pi is a series of small, affordable, and highly customizable computers used by many people for a variety of projects. One of the most popular uses for the Raspberry Pi is home automation. By attaching a touch screen to your Raspberry Pi, you can create an intuitive interface that makes it easy to control your smart home devices.
How do you use a touch screen with a Raspberry Pi?
The first step to getting started with Raspberry Pi touch screen home automation is to gather your supplies. Here's what you'll need:
- Raspberry Pi computer
- Micro SD card
- Power supply
- Touch screen display
- HDMI cable
- Keyboard and mouse (optional)
Once you have all the necessary supplies, the next step is to install the operating system on your Raspberry Pi. There are many operating systems to choose from, but we recommend the Raspberry Pi OS. It's designed specifically for the Raspberry Pi and comes with all the necessary drivers and software pre-installed.
After installing the operating system, it's time to connect your touch screen display to your Raspberry Pi. This is a straightforward process that involves attaching the display to the GPIO pins on your Raspberry Pi and connecting the HDMI cable to the display and your Raspberry Pi.
Now that you have your touch screen display up and running, it's time to start exploring the world of home automation. You can do so using a variety of programming languages, but we recommend starting with Python.
Python is easy to learn, and there are many libraries available that make it easy to control your smart home devices. One popular library is called "gpiozero," which allows you to interact with the GPIO pins on your Raspberry Pi.
For example, you can use gpiozero to control your smart lights, thermostat, security system, and more. With a few lines of Python code, you can turn on your lights, adjust the temperature, or even lock your doors.
To get started with Python and gpiozero, we recommend checking out some online tutorials or taking an online course. The more you learn, the more you can do with your Raspberry Pi touch screen home automation project.
In conclusion, a Raspberry Pi touch screen is an excellent tool for home automation. With a little bit of setup and some Python programming, you can control and automate your smart home devices in a way that meets your needs. We hope this guide has provided a good starting point for your home automation journey.
Posted on: May 3, 2023 Last updated at: May 4, 2023