How to Use Google Home with ESP8266 (Without IFTTT)
If you are looking for a way to integrate your ESP8266 device with Google Home without IFTTT, you are in the right place. In this post, we will guide you through the process of setting up your ESP8266 with Google Home, and show you how to control your home automation devices with voice commands.
What is Google Home?
Google Home is a smart speaker that allows you to control your home automation devices using voice commands. This device comes with Google Assistant, which is an artificial intelligence-powered virtual assistant that uses natural language processing to understand and respond to your voice commands.
With Google Home, you can control your home automation devices such as lights, thermostats, and even your TV using voice commands. Plus, you can use it to get answers to questions, listen to the news, and stream music.
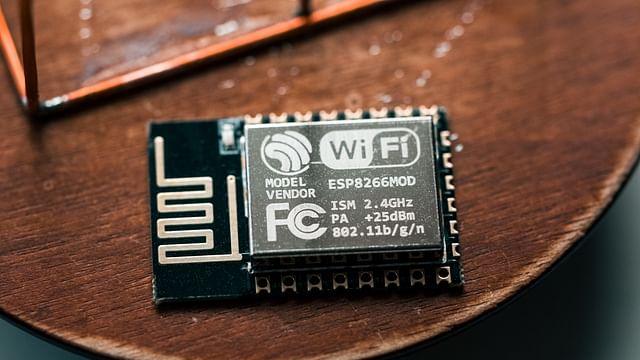
What is ESP8266?
ESP8266 is a low-cost Wi-Fi microchip with full TCP/IP stack and microcontroller capabilities. It allows you to control your home automation devices using Wi-Fi connectivity. This device is widely used in Internet of Things (IoT) applications, and it can be easily programmed using Arduino's programming environment.
With ESP8266, you can easily control your home automation devices using simple Wi-Fi commands sent from your smartphone or computer. This gives you complete control over your devices from anywhere in your home.
Why Use Google Home with ESP8266?
Using Google Home with ESP8266 can take your home automation to the next level by enabling voice control of your devices. This means that you can control your devices with voice commands, making your home a more convenient and comfortable place to live in.
Unlike IFTTT, which is a cloud-based service that can be slow or unavailable at times, using Google Home with ESP8266 allows you to control your devices using your local Wi-Fi network. This means that you don't have to rely on an external service to control your home automation devices, and you can enjoy faster and more reliable control.
How to Use Google Home with ESP8266 (Without IFTTT)
To use Google Home with ESP8266 without IFTTT, you will need to integrate your devices using the Google Assistant API. Here are the steps to follow:
- Create a Developer Project and Credentials on Google Console
To use the Google Assistant API, you will need to set up a developer project on Google Console and create credentials. Go to the Google Console and create a new project. Once you have created the project, navigate to the APIs & Services section and select Credentials. Create a new API key and note it down for later use.
- Set up the Google Assistant SDK on Your Raspberry Pi
To control your ESP8266 devices using Google Home, you will need to set up the Google Assistant SDK on your Raspberry Pi. Follow these steps to set up the SDK:
- Install Raspbian on your Raspberry Pi if you haven't already.
- Create a new project in your Google Console (as outlined above) and enable the Google Assistant API.
- Download and install the Google Assistant SDK and related dependencies on your Raspberry Pi using the following commands:
sudo apt-get update
sudo apt-get install python3 python3-dev python3-venv     \
     portaudio19-dev libffi-dev libssl-dev libmpg123-dev
python3 -m venv env
env/bin/python -m pip install --upgrade pip setuptools   \
     google-assistant-sdk[samples] \
     google-auth-oauthlib[tool]
- Run the following command to authorize the Google Assistant API:
google-oauthlib-tool --scope https://www.googleapis.com/auth/assistant-sdk-prototype \
      --save --headless --client-secrets /path/to/client_secret_client-id.json
- The CLI gives you a URL for you to open in the browser and authenticate. Once you've done this, you're authenticated and can start to use the SDK & API. Test your authentication by running same code:
googlesamples-assistant-pushtotalk --project-id my-dev-project --device-model-id my-model
- Integrate ESP8266 with Google Assistant API
Once you have set up the Google Assistant SDK, you will need to integrate your ESP8266 device with the Google Assistant API. Here are the steps to follow:
- Program your ESP8266 device to control your home automation devices using Wi-Fi commands.
- Create a new Flask server using Python on your Raspberry Pi, which will handle the communication between the Google Assistant API and your ESP8266 device. Make sure to open the required ports on your router to allow external access to your Raspberry Pi.
Create a new Action on Actions Console and set it up with the following details:
- Invocation name: Choose a unique name for your Action.
- Intentos: Create new intents that match the voice commands you will use to control your ESP8266 device.
- Fulfillment: Connect your Action to your Flask server using its external IP address (which can be obtained using services like WhatIsMyIP.com).
- Test Your Integration
You can now test your integration by saying "OK Google, talk to [your invocation name]" to your Google Home device. This will activate your Action, and you can then issue voice commands to control your home automation devices.
Conclusion
Integrating Google Home with ESP8266 can take your home automation to the next level, and enable you to control your devices using only your voice. By following the steps outlined in this post, you can easily set up your ESP8266 device with Google Home without IFTTT. Plus, you can enjoy faster and more reliable control of your devices without relying on external services.
Posted on: Jan 13, 2023 Last updated at: May 4, 2023